Introduction
Setting up an eSIM on your iPhone is one of those things that sounds technical until you actually do it. The entire process takes about two minutes and involves scanning a QR code — that is genuinely all there is to it. No SIM tray tools, no tiny cards to fumble with, no store visits.
This guide walks you through every step in detail, including the exact screens you will see, alternative methods if the QR code approach does not work, how to manage multiple eSIMs, and how to fix the most common issues people run into. Whether you are installing a travel eSIM for an upcoming trip or adding a second line to your iPhone, this guide covers everything.
Prerequisites: Before You Start
Before you begin the installation, make sure you have these four things sorted:
1. A compatible iPhone model
eSIM is supported on the following iPhone models:
- iPhone XS, XS Max, XR (2018)
- iPhone 11, 11 Pro, 11 Pro Max (2019)
- iPhone SE (2nd generation, 2020, and 3rd generation, 2022)
- iPhone 12 series (mini, standard, Pro, Pro Max)
- iPhone 13 series (mini, standard, Pro, Pro Max)
- iPhone 14 series (standard, Plus, Pro, Pro Max)
- iPhone 15 series (standard, Plus, Pro, Pro Max)
- iPhone 16 series (standard, Plus, Pro, Pro Max)
If you are unsure about your model, go to Settings > General > About and look at the "Model Name" field. You can also use the tukango compatibility checker to verify your exact model.
Note: iPhone models sold in mainland China (model numbers ending in CH/A) do not support eSIM due to regional regulatory restrictions. These models use dual physical nano-SIM trays instead.
2. Your iPhone must be carrier-unlocked
This is the number one reason eSIM installations fail, and it catches many people off guard. If you purchased your iPhone through a carrier on an installment plan, it may be locked to that carrier. A carrier-locked iPhone will only accept eSIM profiles from the locking carrier — it will reject third-party eSIM profiles.
How to check if your iPhone is unlocked:
- Go to Settings > General > About
- Scroll down to Carrier Lock (or "Network Provider Lock" on some iOS versions)
- If it says "No SIM restrictions" — your phone is unlocked, and you are good to go
- If it says anything else (or shows a specific carrier name), contact your carrier to request an unlock
Most carriers will unlock your phone for free once you have paid it off. This usually takes 24-72 hours to process.
3. A stable internet connection
You need WiFi or an existing cellular data connection to download the eSIM profile. The download itself is small (a few kilobytes), but the provisioning process requires a stable connection. Hotel WiFi, home WiFi, or your current cellular data all work fine.
Pro tip: Install your travel eSIM while you are still at home on your own WiFi. Do not wait until you arrive at the airport or your destination. You can install the eSIM days or even weeks before your trip — it will not activate or start consuming data until you manually enable it or arrive in the destination country (depending on the plan settings).
4. Your eSIM QR code
When you purchase an eSIM plan (for example, from tukango's destination page), you receive a QR code. This is typically delivered via email and also available in your online account dashboard. Have this QR code ready — either on a second screen (laptop, tablet, another phone) or printed on paper.
Important: You cannot scan a QR code that is displayed on the same iPhone you are installing the eSIM on. You need it on a separate screen or on paper.
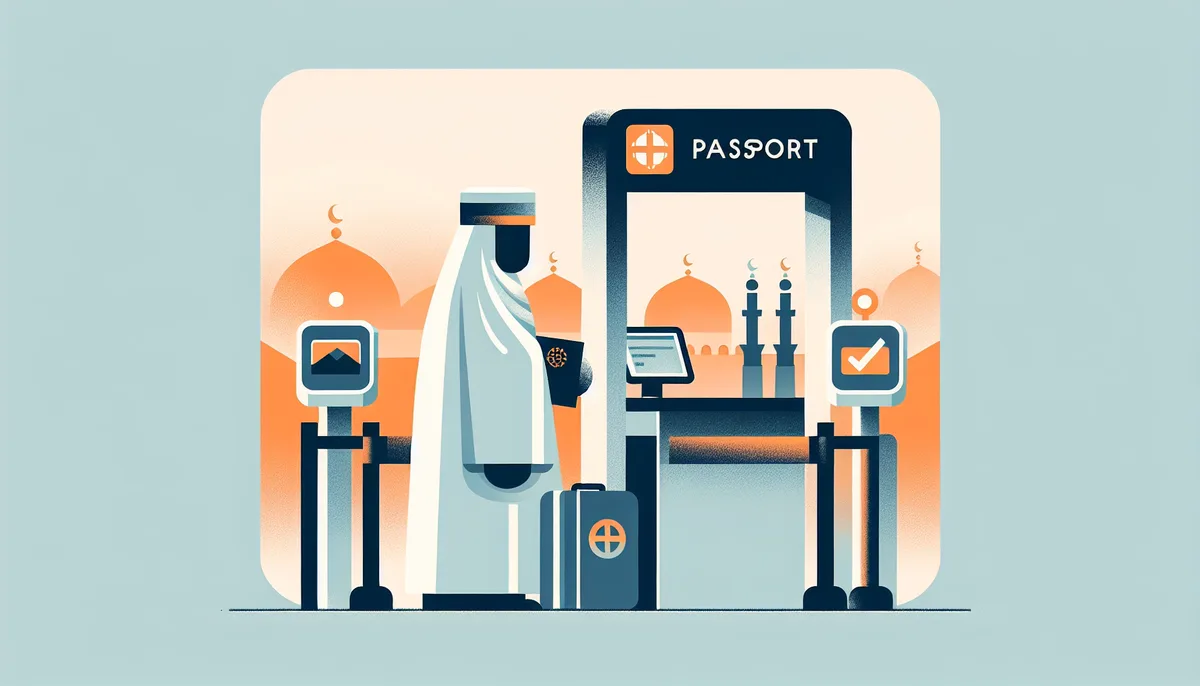
Method 1: QR Code Scanning (Recommended)
This is the standard and easiest method. Here is exactly what to do:
Step 1: Open eSIM settings
Go to Settings > Cellular (or Settings > Mobile Data in some regions).
Tap Add eSIM (on iOS 17 and later) or Add Cellular Plan (on iOS 16 and earlier).
Step 2: Select QR code method
On the "Set Up Cellular" screen, tap Use QR Code.
Your iPhone's camera will activate, showing a viewfinder with a frame in the center of the screen.
Step 3: Scan the QR code
Point your iPhone's camera at the QR code. Hold the phone about 6-8 inches (15-20 cm) from the code. The phone will automatically detect and read the QR code — you do not need to press a shutter button.
When the code is read successfully, a notification will appear at the top of the screen saying something like "Cellular Plan Detected" or the name of the carrier.
Step 4: Confirm the cellular plan
Your iPhone will show a screen with details about the eSIM plan. Tap Continue (or Add Cellular Plan on older iOS versions).
The phone will begin downloading and activating the eSIM profile. You will see a progress indicator — this typically takes 30 seconds to 2 minutes depending on your internet speed and the carrier's provisioning server.
Step 5: Label your new line
After successful installation, your iPhone will ask you to label the new cellular plan. You will see options like "Primary," "Secondary," "Travel," or "Business." You can also create a custom label.
For a travel eSIM, labeling it with the country name (e.g., "Japan" or "Germany") makes it easy to identify later, especially if you install multiple travel eSIMs over time.
Step 6: Configure line settings
Your iPhone will present several configuration screens:
- Default Line: Choose which line to use for outgoing calls and messages. For a data-only travel eSIM, keep your existing line as the default.
- iMessage & FaceTime: Select which line to use. Again, keep your existing line for this.
- Cellular Data: This is the critical setting. Select your new travel eSIM line for cellular data if you want to use it for internet access. You can also turn on "Allow Cellular Data Switching" to let your iPhone automatically use the line with the best signal.
That is it. Your eSIM is installed. If it is a travel eSIM for a future trip, you can leave it installed but toggle it off until you arrive at your destination (more on this below).
Method 2: Manual Activation Code Entry
If you are unable to scan the QR code — maybe your camera is damaged, or the QR code is on the same device — you can enter the activation details manually.
Step 1: Get your activation details
Every eSIM QR code encodes a string that contains two pieces of information:
- SM-DP+ Address (the provisioning server URL)
- Activation Code (a unique identifier for your specific eSIM profile)
Your eSIM provider typically includes these text details alongside the QR code in your confirmation email. Look for something that resembles: LPA:1$smdp.example.com$ACTIVATION-CODE-HERE
The part after 1$ and before the second $ is the SM-DP+ Address. Everything after the second $ is the Activation Code.
Step 2: Enter the details manually
- Go to Settings > Cellular > Add eSIM (or Add Cellular Plan)
- Tap Use QR Code
- At the bottom of the camera screen, tap Enter Details Manually
- Enter the SM-DP+ Address in the first field
- Enter the Activation Code in the second field
- If provided, enter the Confirmation Code (not all plans require this)
- Tap Next
The rest of the process is identical to the QR code method — your iPhone downloads the profile, and you configure your line settings.
How to Switch Between eSIM and Physical SIM
Once your eSIM is installed alongside your physical SIM (or another eSIM), you can switch your data connection between them at any time:
- Go to Settings > Cellular
- You will see all your installed cellular plans listed (e.g., "Primary" and "Travel")
- Tap Cellular Data
- Select which plan you want to use for data
You can also tap on individual plans to toggle them on or off entirely. This is useful when you arrive at a destination and want to activate your travel eSIM, or when you return home and want to turn it off.
Setting your travel eSIM as the default data line
For the cleanest travel setup:
- Go to Settings > Cellular > Cellular Data
- Select your travel eSIM
- Optionally turn off "Allow Cellular Data Switching" to prevent your phone from accidentally using your home line for data (which would incur roaming charges)
When you return home, simply reverse these steps: switch Cellular Data back to your primary line and turn off the travel eSIM.
Managing Multiple eSIMs on iPhone
Modern iPhones can store eight or more eSIM profiles, though only one or two can be active at a time. Here are practical tips for managing them:
- Label clearly: Name each eSIM after its purpose or country ("Japan 2026," "UK Data"). This prevents confusion when you accumulate several profiles.
- Delete expired profiles: Go to Settings > Cellular, tap the plan, scroll down, and tap Delete eSIM to keep your list clean.
- Switching active lines: Go to Settings > Cellular, tap the plan you want to activate, and toggle "Turn On This Line." If you already have the maximum active lines, your iPhone will prompt you to deactivate one first.
Troubleshooting Common Issues
Even though eSIM setup is straightforward, things occasionally go wrong. Here are the most common issues and their solutions:
"Cannot scan QR code" or camera does not detect the code
- Make sure you are scanning from Settings > Cellular > Add eSIM > Use QR Code, not the regular camera app
- Clean your camera lens
- Ensure the QR code is displayed clearly — zoom in if it is small, increase screen brightness if viewing on another device
- Try different distances — hold your phone 6-8 inches from the code
- If nothing works, use the manual entry method described above
"eSIM is not supported on this device"
- Your iPhone model may not support eSIM (check the compatibility list above)
- Your iPhone may be the mainland China variant, which does not support eSIM
- Your iOS version may be outdated — update to the latest version via Settings > General > Software Update
"Unable to activate eSIM" or activation failed
- Check your internet connection — switch from WiFi to cellular or vice versa, or try a different WiFi network
- Restart your iPhone and try again
- Make sure your iPhone is carrier-unlocked (see the prerequisites section)
- The QR code may have already been used — each QR code is single-use. Contact your eSIM provider if you believe this is an error
- Check that you have not exceeded your device's eSIM storage limit
eSIM installed but no data connection
- Make sure the eSIM is toggled on: Settings > Cellular, tap the eSIM plan, ensure "Turn On This Line" is enabled
- Set the eSIM as your cellular data line: Settings > Cellular > Cellular Data, select the eSIM plan
- Check that Data Roaming is enabled: Settings > Cellular, tap the eSIM plan, and enable Data Roaming (this is required for travel eSIMs since you are on a foreign network)
- Toggle Airplane Mode on and off to force a network reconnection
- If the plan is location-specific, make sure you are physically in the covered country or region
- Restart your iPhone
eSIM line is not appearing in settings
- The download may have failed silently — try scanning the QR code again
- Restart your iPhone
- If you receive an error saying the QR code has already been used, contact your provider's support team
If you are still experiencing issues after trying these steps, the tukango support page has additional resources and dedicated support to help resolve installation problems.
Pro Tips for Travel eSIM on iPhone
- Install before your trip. Install at home on WiFi, confirm it appears in settings, and leave it toggled off until you land.
- Disable data on your home line. Turn off "Allow Cellular Data Switching" in Settings > Cellular > Cellular Data to prevent accidental roaming charges.
- Enable WiFi Calling. Turn on WiFi Calling (Settings > Phone > WiFi Calling) so calls to your home number route over your eSIM data connection, avoiding roaming fees.
Frequently Asked Questions
Can I install an eSIM on my iPhone before I travel?
Yes, and this is actually the recommended approach. You can purchase and install your travel eSIM days or even weeks before your trip. The eSIM will sit in your phone's settings in a dormant state. Most travel eSIM plans do not start their validity period until you first connect to a network in the destination country, so you are not losing any days by installing early. This way, the moment you land and turn off airplane mode, your phone connects to the local network automatically.
What happens to my physical SIM when I install an eSIM?
Nothing at all. Your physical SIM continues to work exactly as before. Your iPhone simply adds a second cellular plan alongside it. You can choose which plan handles calls, which handles data, and which handles messaging — all independently. Most travelers keep their physical SIM for calls and texts from their home number, and use the eSIM exclusively for data abroad. The two lines operate simultaneously without interfering with each other.
Can I use the same eSIM QR code on a different iPhone if I switch phones?
Generally, no. An eSIM QR code is designed for a single installation. Once the profile has been downloaded to a device, the QR code is typically consumed and cannot be used again. If you need to move your eSIM to a new iPhone, some carriers support eSIM transfer (on iOS 16 and later, there is a "Transfer eSIM" option during device setup). If carrier transfer is not available, you would need to contact your eSIM provider for a new QR code. Some providers support this for free; others may charge a small reissue fee.
How do I remove an eSIM from my iPhone?
Go to Settings > Cellular, tap the eSIM plan you want to remove, scroll down, and tap Delete eSIM (or "Remove Cellular Plan"). Confirm the deletion. This permanently removes the carrier profile from your device. If you think you might want to use this plan again in the future, check whether your provider supports reinstallation before deleting. For expired travel eSIM plans with no remaining data, there is no reason to keep them — deleting them keeps your cellular settings clean and organized.
---
Ready to set up your first travel eSIM? Check your device compatibility and browse data plans for 170+ countries on tukango. For a broader overview of the technology, see our guide on what an eSIM is and how it works.
Bağlı qalmağa hazırsınız?
170+ ölkə üçün eSIM planlarını araşdırın. Ani çatdırılma, roaming haqqı yoxdur.